Before embarking on a window replacement project, having the right measurements is essential. Proper measurements will ensure that the new windows fit perfectly and function optimally. Whether you’re replacing a single window or upgrading your entire home, following a systematic measuring process is key.
Accurate measurements are crucial when it comes to window replacement. Experts understand the importance of precise measurements to ensure a seamless and successful replacement process. The following expert tips will help you obtain the correct measurements and proceed confidently with your Brampton window replacement journey.
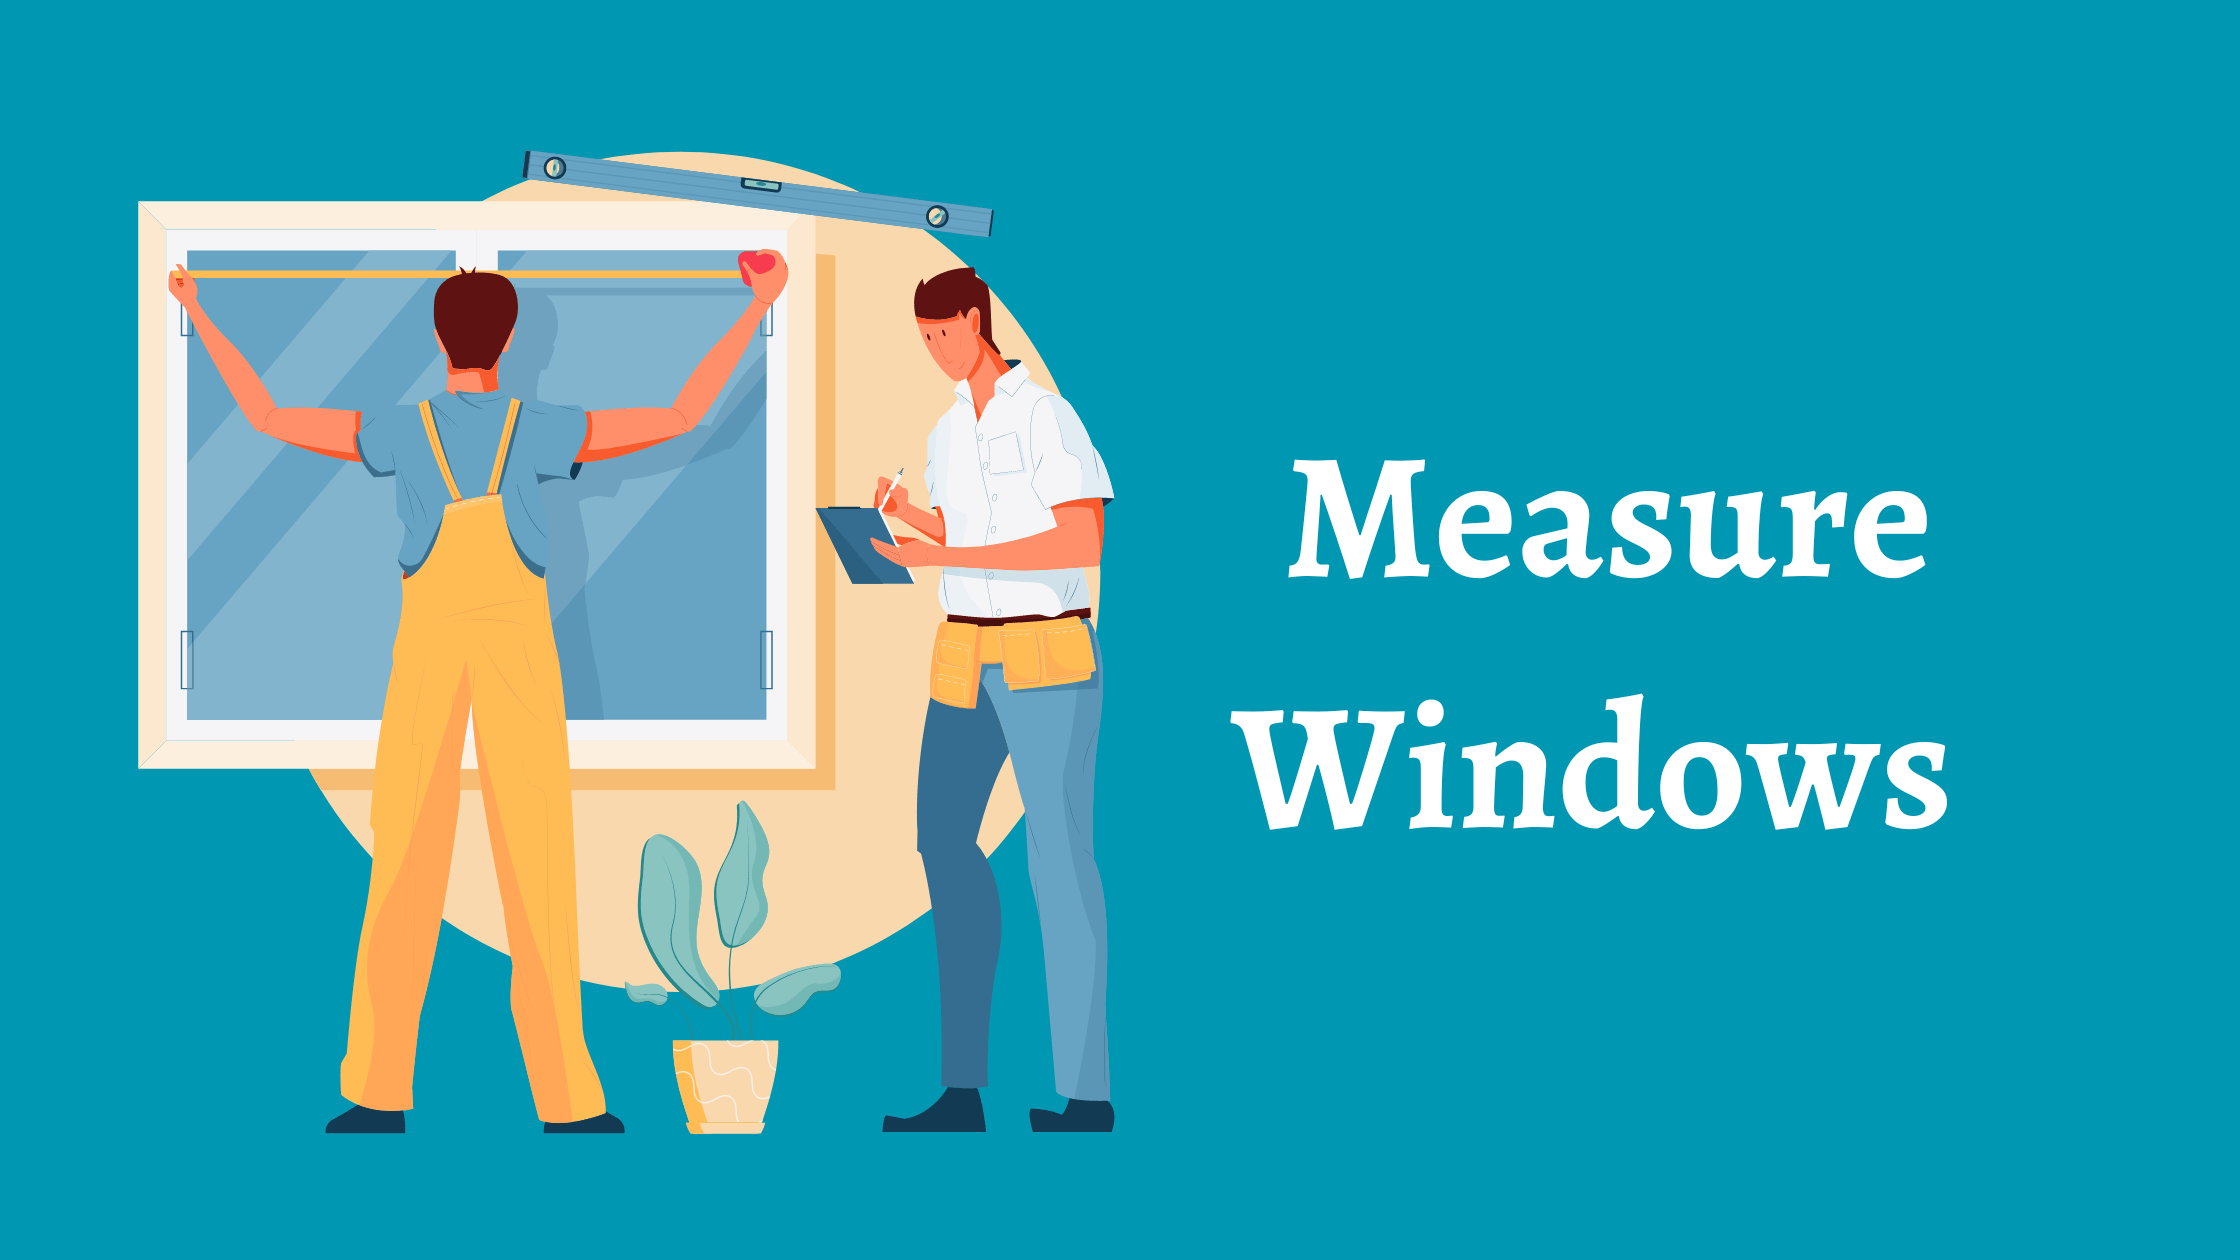
1: Gather The Necessary Tools
To start measuring windows for replacement, gather the necessary tools. You’ll need a tape measure, preferably a retractable one with both imperial and metric measurements.
A pencil or marker for marking measurements, a notepad to record the dimensions, and a level to ensure accuracy. These readily available tools will streamline the measuring process and help you maintain precision throughout.
2: Measure The Width
Begin by measuring the width of the window opening. Measure horizontally from the left jamb’s inside edge to the right jamb’s inside edge at three different points: the top, middle, and bottom.
Note down the smallest measurement, as this ensures that the replacement window will fit properly without any gaps or issues.
3: Determine The Height
Next, measure the height of the window opening. Measure vertically from the head jamb’s inside edge to the sill’s inside edge at three different points: left, center, and right.
Again, record the smallest measurement to ensure the replacement window fits snugly and operates smoothly.
4: Measure The Depth
To determine the depth or thickness of the window, measure from the inside edge of the window frame to the outside edge.
This measurement is crucial for selecting the appropriate replacement window that aligns with your existing window frame. Measure at multiple points to account for any variations in the frame’s depth.
5: Assess The Surrounding Structure
When measuring for Brampton window replacement, consider the surrounding structure, such as the window trim or casing.
Measure the width and height of the trim to ensure the replacement window will fit properly within the existing framework. Take note of any obstructions or irregularities that may affect the installation process.
6: Account For Installation Requirements
Different types of replacement windows have specific installation requirements. For instance, if you’re considering a window with a nailing fin, measure the distance between the fin and the interior of the existing frame.
This measurement will determine whether the window can be installed flush with the exterior wall. Understanding the specific installation needs of your chosen replacement window will help you take accurate measurements.
7: Double-Check The Measurements
Once you’ve taken all the necessary measurements, it’s essential to double-check their accuracy. Revisit each measurement to ensure they are consistent and precise.
Confirm that you’ve recorded the smallest width and height measurements to avoid ordering windows that are too large for the openings. Accuracy is crucial to ensure a proper fit and minimize potential installation issues.