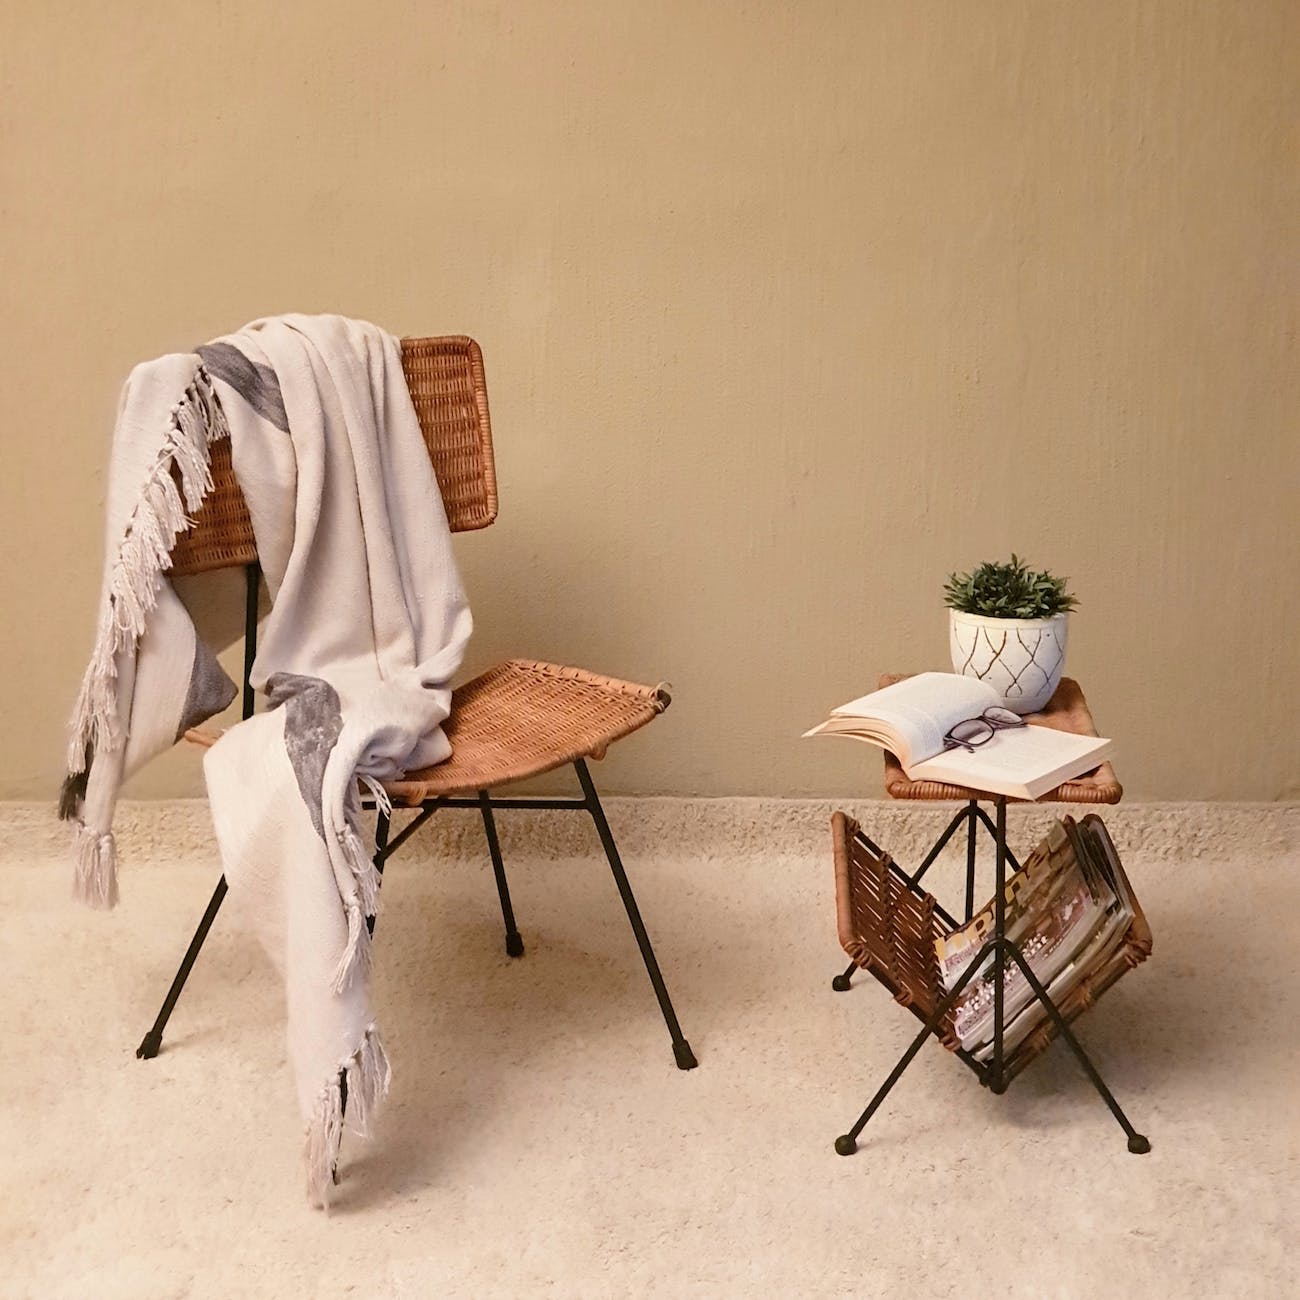
At first, the furniture reflects the beauty of any home, and the aesthetics it brings are appreciated by both homeowners and visitors. But as time goes on, the furniture ages and its once glossy appearance becomes bleak and damp.
However, rather than discard the furniture, the latest trend is to have those pieces of furniture restored through practical techniques, the most common of which is spray painting.
And the beauty of spray-painting is that it can be made into a fun DIY experience at home. So, if you’ve got your equipment, it’s time to walk you through the simple steps involved in spray painting old furniture.
The Quick and Easy Steps to Restoring Your Old Furniture
1. Clean and Sand the Furniture
Once the prep is done, get a mixture of cleaning solution and hot water to clean the surface of the furniture. Avoid harsh agents, and if you encounter tougher stains, then more formidable cleaning agents can be used.
After cleaning, the furniture should be well sanded to create a smooth surface for easy spray paint application. It also corrects the glossy nature of the wood so that paint can adhere to it.
2. Prime the Furniture
Priming the furniture is a crucial pre-painting step. It ensures no pores on the furniture’s surface while boosting the durability of the applied paint. Since it prevents flaking, peeling, and other issues, your paint will last longer and have a better appearance with a primer on the furniture.
For wooden furniture, it’s advisable to use an oil primer. It helps mask any old stain, smoothens the canvas of the furniture, and seals any porous space.
3. Take the Spray Paint for A Test
For some, spray painting their furniture is simple, while others see it as a new hurdle to tackle. If you fall in the newbie category, you should first get the hang of the process before moving to spray your furniture.
Practicing on a piece of paper will help you get accustomed to the pressure of the paint, and you’ll learn to maintain a steady grip on the nozzle to keep the strokes even.
4. Spray the Furniture and Apply the Sealant
Once you’re satisfied with your spraying skills, it’s time to test them out on the real thing. Start by spraying from the top of the furniture and descend towards the bottom. Also, there should be a gap of at least 10cm between the spray and the furniture.
Furthermore, always keep the spray moving to prevent dripping and wait till the furniture is completely dry before adding another layer of paint to prevent it from peeling.
Once the painting is complete, a sealant (usually polyacrylic) should be applied to keep the grains of wood together and free from scratches.
5. Restore the Hardware
Once the process is complete, it’s time to assemble the pieces of hardware and furniture you took apart. In doing so, proper care should be taken to avoid chipping or denting the wood and other furniture parts.
Wrapping Up
For the best professional tips on spray-painting furniture and other restoration tips, be sure to include “uPVC window spraying near me” to get the nearest help as soon as possible.